Showing posts with label Quick. Show all posts

Saturday, February 1, 2014

Tropical Chicken Quesadilla


I made these last spring as part of the recipes swap in which I was partaking at the time.  That version used a pineapple-avocado salsa while this time around, I used the originally called for mango.  

I know I liked the pineapple, but this was fantastic.  It was an amazing salsa to go along with your pretty standard chicken and cheese quesadilla, and so bright and fresh for the dismal wintery "Polar Vortex" weather we've had lately.  I made these with some shredded chicken I had in the fridge, but Kelsey gives directions for cooking fresh chicken and spicing it up with some Mexican flavors.
Yummy!

Tropical Chicken Quesadilla with Mango Avocado Salsa  Source:  Kelsey's Apple a Day
Ingredients:
For the salsa:
1 mango, peeled and diced
1 avocado, peeled and diced
1 Roma tomato, seeded and diced
1 clove garlic, minced
1 habañero (Scotch Bonnet) or jalapeño, seeded and diced
1/4 c. chopped fresh cilantro
juice from one fresh lime
1/4 c. chopped red onion
Salt and pepper, to taste

For the quesadillas:
2 t coconut oil, divided
shredded chicken
1/2 red onion, very thinly sliced
1 red bell pepper, diced
8 medium/soft taco size tortillas
1 1/2 c. shredded cheese 

Directions:
  1. Make the salsa by combining all ingredients in a medium size bowl.  Adjust seasonings as you like.
  2. Make the quesadillas by laying out the tortilla then topping half with cheese, shredded chicken, onion, and pepper.  Fold quesadilla in half over the filling.  
  3. Heat 1 t coconut oil in a skillet.  When hot, lay the quesadilla in the pan and cook until crispy, then flip over to cook the other side.  Repeat with remaining quesadillas.  Serve with the salsa and enjoy!


Tuesday, October 15, 2013

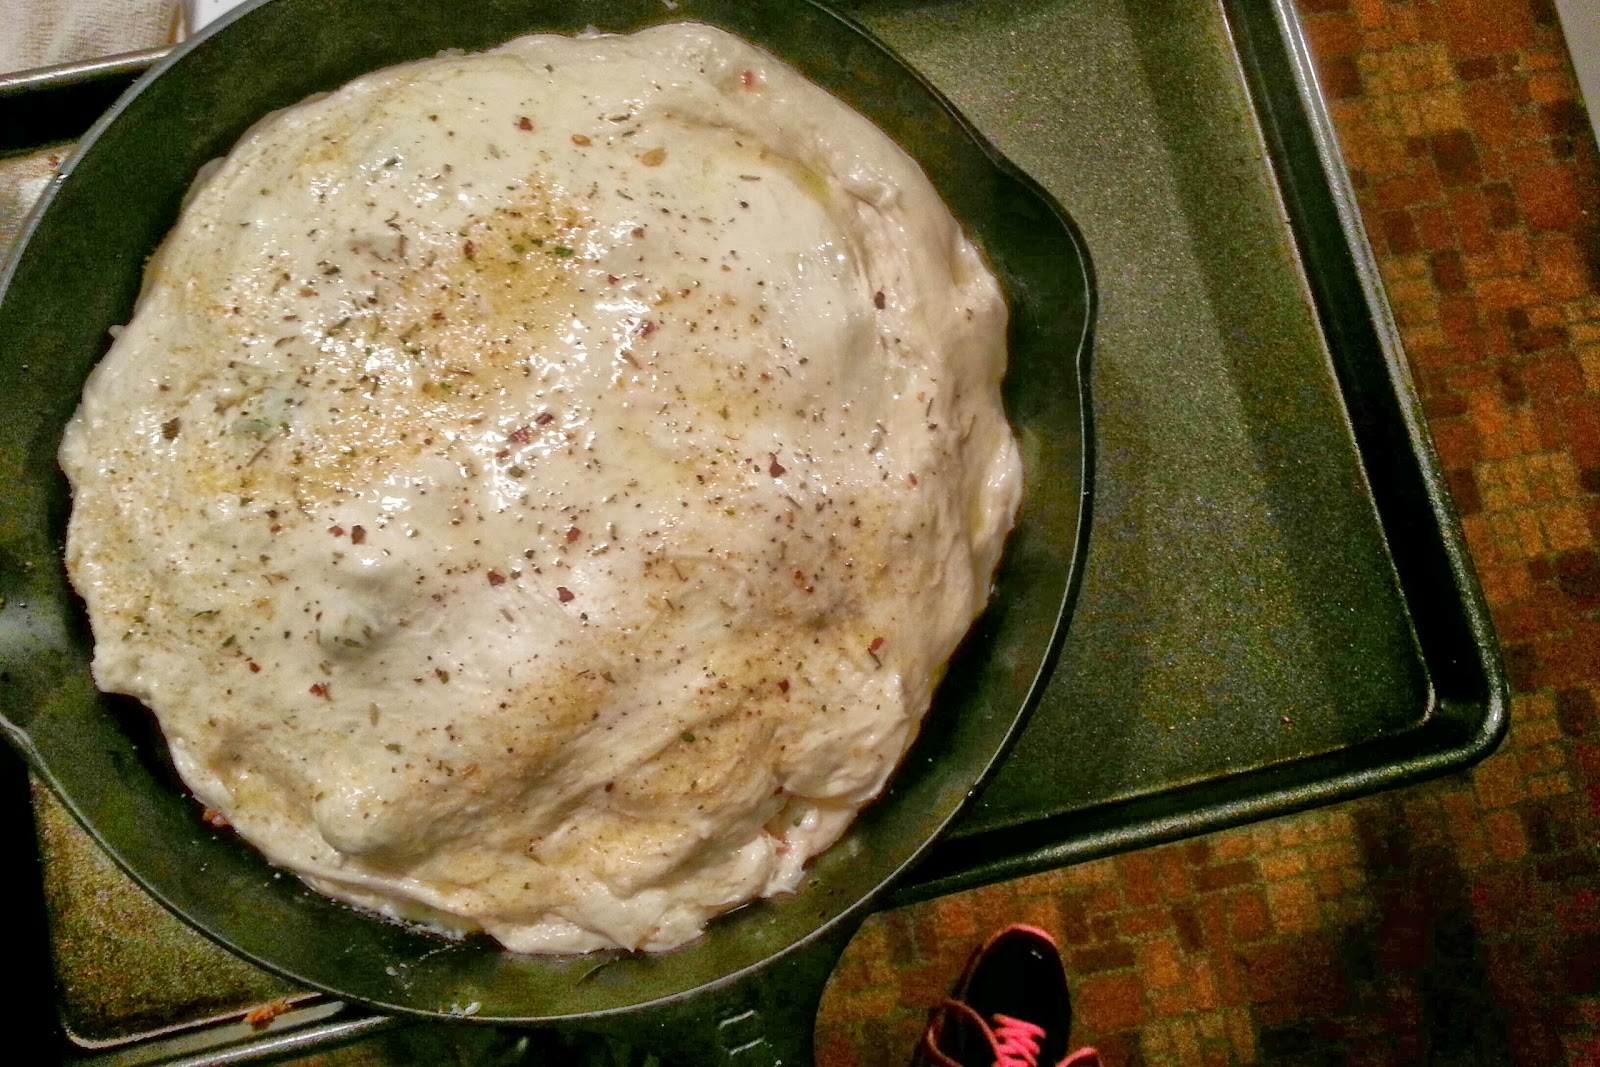
Stuffed pizza

This is one that I made a very long time ago and somehow didn't make again.  So when we had an extra pizza dough from an emergency "we need pizza dough so let's buy it from the grocery store," I decided it was high time we made it again.  I also got the incredibly brilliant idea to cook it in a cast iron skillet rather than any of my more typical pizza making methods.

Of course, "hit" was written all over this one.  It was fairly easy to make (though the steaming and the sauteeing does create more dishes than such an easy dish would suggest), it's loaded with veggies, and it's quite tasty.
It looks like I've made this twice before, once with roasted red peppers and once with tomatoes.  This time, I had no roasted peppers in the house and an abundance of tomatoes about to go bad, so the choice was easy.  I think this is probably my preferred version any way.


Stuffed Pizza Source:  Picky Palate, via Lauren's Kitchen
16 oz whole wheat or white pizza dough
1 Cup ricotta cheese
¼ Cup grated parmesan cheese
1 Tablespoon extra virgin olive oil
2 Cups fresh spinach leaves, chopped
2 Cups fresh broccoli florets, steamed until fork tender, about 3 minutes in boiling water
Pinch of salt
½ Cup Roasted red bell peppers, from can or fresh
1 ½ Cup shredded mozzarella cheese
2 Tablespoons extra virgin olive oil
½ teaspoon dried Italian Seasoning

1. Preheat oven to 375 degrees F. Divide dough into 2 equal pieces. Spread and press one piece of dough into the bottom and sides of a 9-9 ½ inch round cake or tart pan that has been sprayed with non-stick cooking spray. (I used a 9 ½ inch deep quiche pan with a removable bottom that worked perfectly) In a medium bowl, mix together the ricotta and parmesan cheese until well combined. Spread into pressed pizza dough.
2. Place olive oil into a medium skillet over medium heat. Saute spinach until wilted down, about 3 minutes. Place evenly over ricotta cheese layer. Place steamed broccoli florets over spinach and season with a pinch or two of kosher salt. Layer roasted red peppers, then mozzarella cheese over top. Press out remaining piece of dough and place over filling, tucking edges inside of pan. Brush with olive oil and sprinkle with Italian Seasoning. Bake for 25-35 minutes or until crust is golden brown and cooked through.
3. Let cool for 10 minutes before removing from pan or cutting into wedges.
8 slices

Friday, April 5, 2013

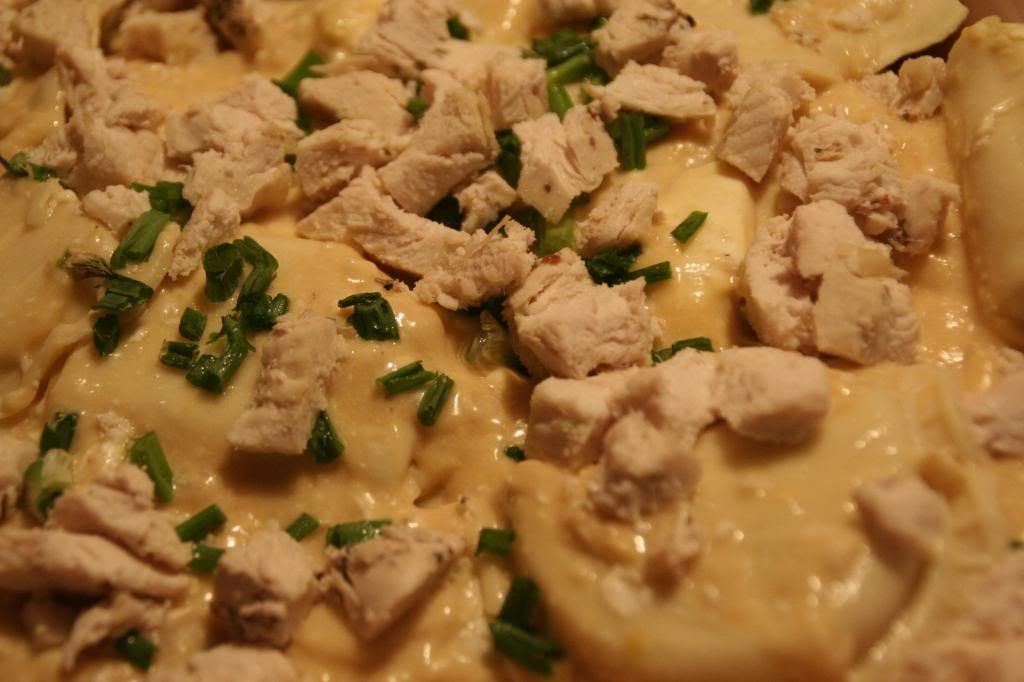
Lemon Chicken Pierogie Bake

Stephanie does a great job of not only making up her own recipes but also riffing on well known ones.  Here's here interpretation of the internet famous Bacon Pierogie Bake.

I wish I had added the veggies as suggested, but was running low on time so skipped it.  It definitely made for a much prettier plate for Stephanie than the sort of bland colors on mine, so I'm posting Stephanie's original directions so you can avoid the mistake I made!  But the taste was quite good.  It was nice and light, which is so nice as we're all itching for spring weather to arrive and match the calendar!

Lemon Chicken Pierogie Bake Source:  Stephanie Cooks
Ingredients:

1 tbsp butter
2 tbsp flour
2 cloves garlic
1 cup broth
juice from half a lemon
1 tsp lemon zest
4 tbsp cream cheese
3 green onions, sliced thin.
1 package frozen pierogies
1 cup cooked chicken, diced
1 cup cooked veggies, any kind
1/2 cup parmesan cheese
Directions:
1- Preheat the oven to 400.
2- In a skillet melt the butter. Stir in the garlic and allow to saute until fragrant, about 2-3 minutes. Add the flour and stir well. Slowly pour in the broth.
3- Bring the broth to a boil, then reduce the heat. Add the lemon juice, zest, and cream cheese. Stir until cheese is melted. Stir in the green onion.
4- In an oven safe dish lay the pierogies on the bottom. Add the chicken and veggies, and pour the sauce over the whole dish. Top with the parmesan cheese.
5- Cover with foil and bake 25 minutes. Remove the foil and bake an additional 5 minutes.


Thursday, March 21, 2013

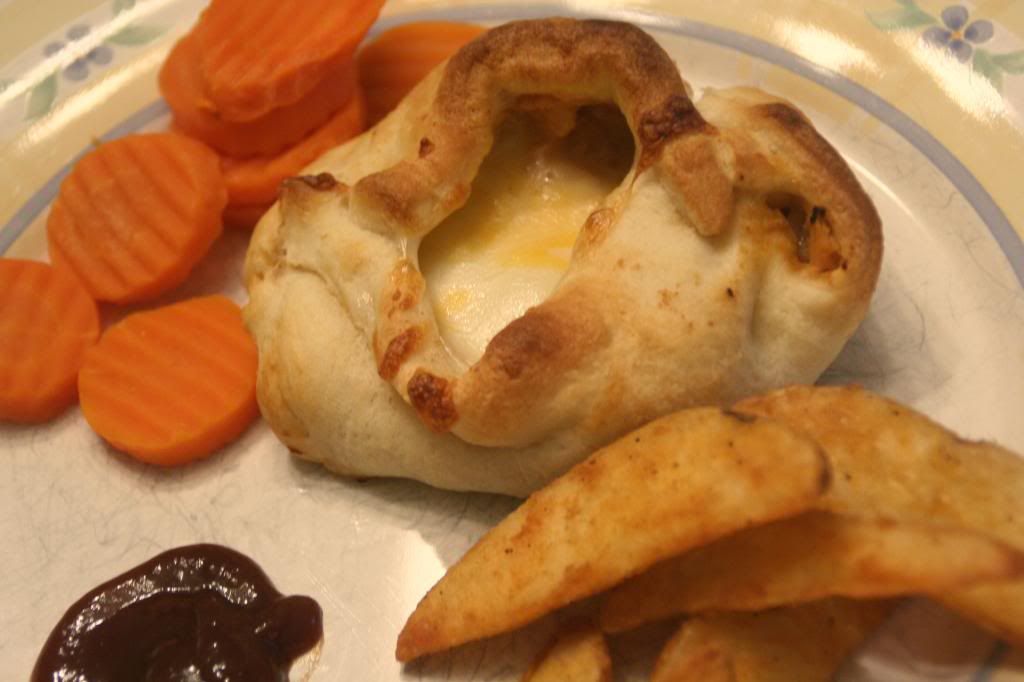
BBQ Chicken Pockets

Stephanie's Chicken Suiza pockets (which I, apparently, never blogged; see Stephanie's recipe here) were such a wild success around here, I knew we'd have another hit when she posted this recipe for BBQ Chicken Pockets.

And these were a big hit indeed!  We all loved the flaky deliciousness and the tasty innards.  I made mine like a pocket while Stephanie made them more like rolls; either way you make them, make sure you double the recipe (they freeze really well and make a fast meal) because the as written didn't feed my little family--they just could not get enough!

I served with steak fries and barbecue dipping sauce and some carrots on the side.

BBQ Chicken Pockets Source:  Stephanie Cooks

Ingredients:
1 tsp olive oil
6 ounces cooked chicken, diced
Salt/pepper
BBQ sauce
1 can crescent rolls
Cheddar cheese
Mozzarella cheese
Cilantro, optional

Directions:
  1. Preheat your oven to 400 degrees.  Combine chicken and 2T BBQ sauce in a small skillet. Cook, stirring frequently, until warm and coated well.  Set aside and keep warm.
  2. Form rectangles with the crescent roll dough by sealing two triangles together.  Coat with BBQ sauce as thickly as you like (I wouldn't go too thick or they will be gooey).
  3. Place equal amounts of chicken on each rectangle.  Top with cheeses.
  4. Form a pocket around the filling, making sure the filling can't escape through any holes.  Place on a baking sheet, and bake in the preheated oven for about 12 minutes, until lovely and golden.  
  5. Top with cilantro and enjoy!
Related Posts with Thumbnails